> ## Documentation Index
> Fetch the complete documentation index at: https://translations.mintlify.site/llms.txt
> Use this file to discover all available pages before exploring further.
> TikTok を使用したカスタムソーシャル接続の作成方法について説明します
# TikTok を使用してカスタムソーシャル接続を作成する
TikTok をソーシャル接続として使用するようにアプリケーションを設定する前に、次のものが必要です。
1. [TikTok 開発者アカウント](https://developer.tiktok.com/)
2. Auth0 を使用してユーザーを認証するアプリケーションを含む Auth0 アカウント
3. [TikTok Application Review Process](https://developers.tiktok.com/doc/getting-started-faq/) 用の利用規約ページの URL
4. ローカル環境にインストールされた [Node.js](https://nodejs.org/en/) と [ngrok](https://ngrok.com/)
## TikTok を設定する
TikTok をアプリケーションのソーシャルログインとして使用できます。以下の手順で TikTok Developer アカウントにアクセスし、設定します。
1. TikTok Developer で、**Manage apps** を選択します。
2. **Connect an app** を選択します。
3. **Configuration** セクションで、アプリケーションアイコン、アプリケーション名、説明を追加します。
4. **Platforms** で、アプリケーションの種類を選択します。
1. Web アプリケーションの場合は、有効な URL を追加します。
2. Android の場合は、Android パッケージ名、Play Store URL、アプリケーション署名を追加します。
3. iOS の場合は、App Store URL と Bundle ID を追加します。
5. Product メニューで、**Add Product** を選択します。
6. **Login Kit** を選択します。
7. 次に、**TikTok API** を選択します。
8. Product セクションで、利用規約ページの URL、プライバシーポリシーページの URL、リダイレクトドメインを Login Kit に追加します。リダイレクトドメインは、[Auth0 Dashboard > アプリケーション > アプリケーション](http://manage.auth0.com/#/applications) の **Settings** タブにある Auth0 ドメインです。例: `dev-test-1.us.auth0.com`。
9. **Save Changes** を選択します。次に、**Submit for review** を選択します。
10. アプリケーションのステータスが `Staging` から `Production` に変わるまで待ちます。TikTok によるアプリケーションの審査とステータスの更新には、数時間かかる場合があります。
## Auth0 を設定する
TikTok インスタンスを Auth0 に関連付けるには、カスタム接続を作成する必要があります。
1. [Auth0 Dashboard > Authentication > Social](http://manage.auth0.com/#/social) に移動します。
2. **Create Connection** を選択します。
3. リストの一番下までスクロールし、**Create Custom** を選択します。
4. 以下を入力して **New Custom Social Connection** を作成します。
1. Name: TikTok
2. Authorization URL: TikTok の Authorization URL `https://www.tiktok.com/auth/authorize/`
3. Token URL: 最終的にはプロキシの URL になります。プレースホルダー URL として `https://example.com` を使用します
4. Scope: `user.info.basic`
5. Client ID: TikTok から割り当てられた Client key
6. Client Secret: TikTok から割り当てられた Client secret
7. Purpose: 認証、Connected Accounts for Token Vault、またはその両方で接続を有効にします。詳しくは、[ユーザー認証と Connected Accounts](/docs/ja-jp/secure/tokens/token-vault/connected-accounts-for-token-vault#user-authentication-vs-connected-accounts) を参照してください。
5. [Fetch User Profile Script](/docs/ja-jp/authenticate/identity-providers/social-identity-providers/oauth2#fetch-user-profile-script) を設定して、[TikTok の user\_info エンドポイント](https://developers.tiktok.com/doc/tiktok-api-v2-get-user-info/) からプロファイル情報を取得します。属性を Auth0 の正規化されたユーザープロファイルにマッピングします。
Auth0 で必要なのは `user_id` 属性のみで、これは TikTok の `union_id` に対応します。
```javascript lines theme={null}
function fetchUserProfile(accessToken, context, cb) {
const axios = require('axios@0.22.0');
const userInfoEndpoint = 'https://open.tiktokapis.com/v2/user/info?fields=union_id';
const headers = { 'Authorization': 'Bearer ' + accessToken };
axios
.get(userInfoEndpoint, { headers })
.then(res => {
if (res.status !== 200) {
return cb(new Error(res.data));
}
const profile = {
user_id: res.data.user.union_id,
};
cb(null, profile);
})
.catch(err => cb(err));
}
```
6. **Create** をクリックします。
7. [Auth0 Dashboard > アプリケーション > アプリケーション](http://manage.auth0.com/#/applications) で、TikTok 接続で使用するアプリケーションを開きます。
8. **Connections** タブで、TikTok をオンにします。
## Management API を使用してカスタムパラメーターを TikTok に渡す
TikTok では `client_id` ではなく `client_key` パラメーターを使用するため、認証時に `client_key` パラメーターを渡すには Management API を使用する必要があります。
Management API を使用するには、アクセストークン を生成する必要があります。
1. Auth0 [Dashboard > アプリケーション > APIs](http://manage.auth0.com/#/apis) に移動し、**Auth0 Management API** を選択します。
2. **API Explorer** タブを選択します。
3. **Create & Authorize Test Application.** を選択します。
4. 表示されたトークンをコピーします。
5. [Auth0 Management API Explorer](https://auth0.com/docs/api/management/v2) に移動します。必要に応じてシークレット ウィンドウを開いてください。
6. 左上にある **Set API Token** を選択します。
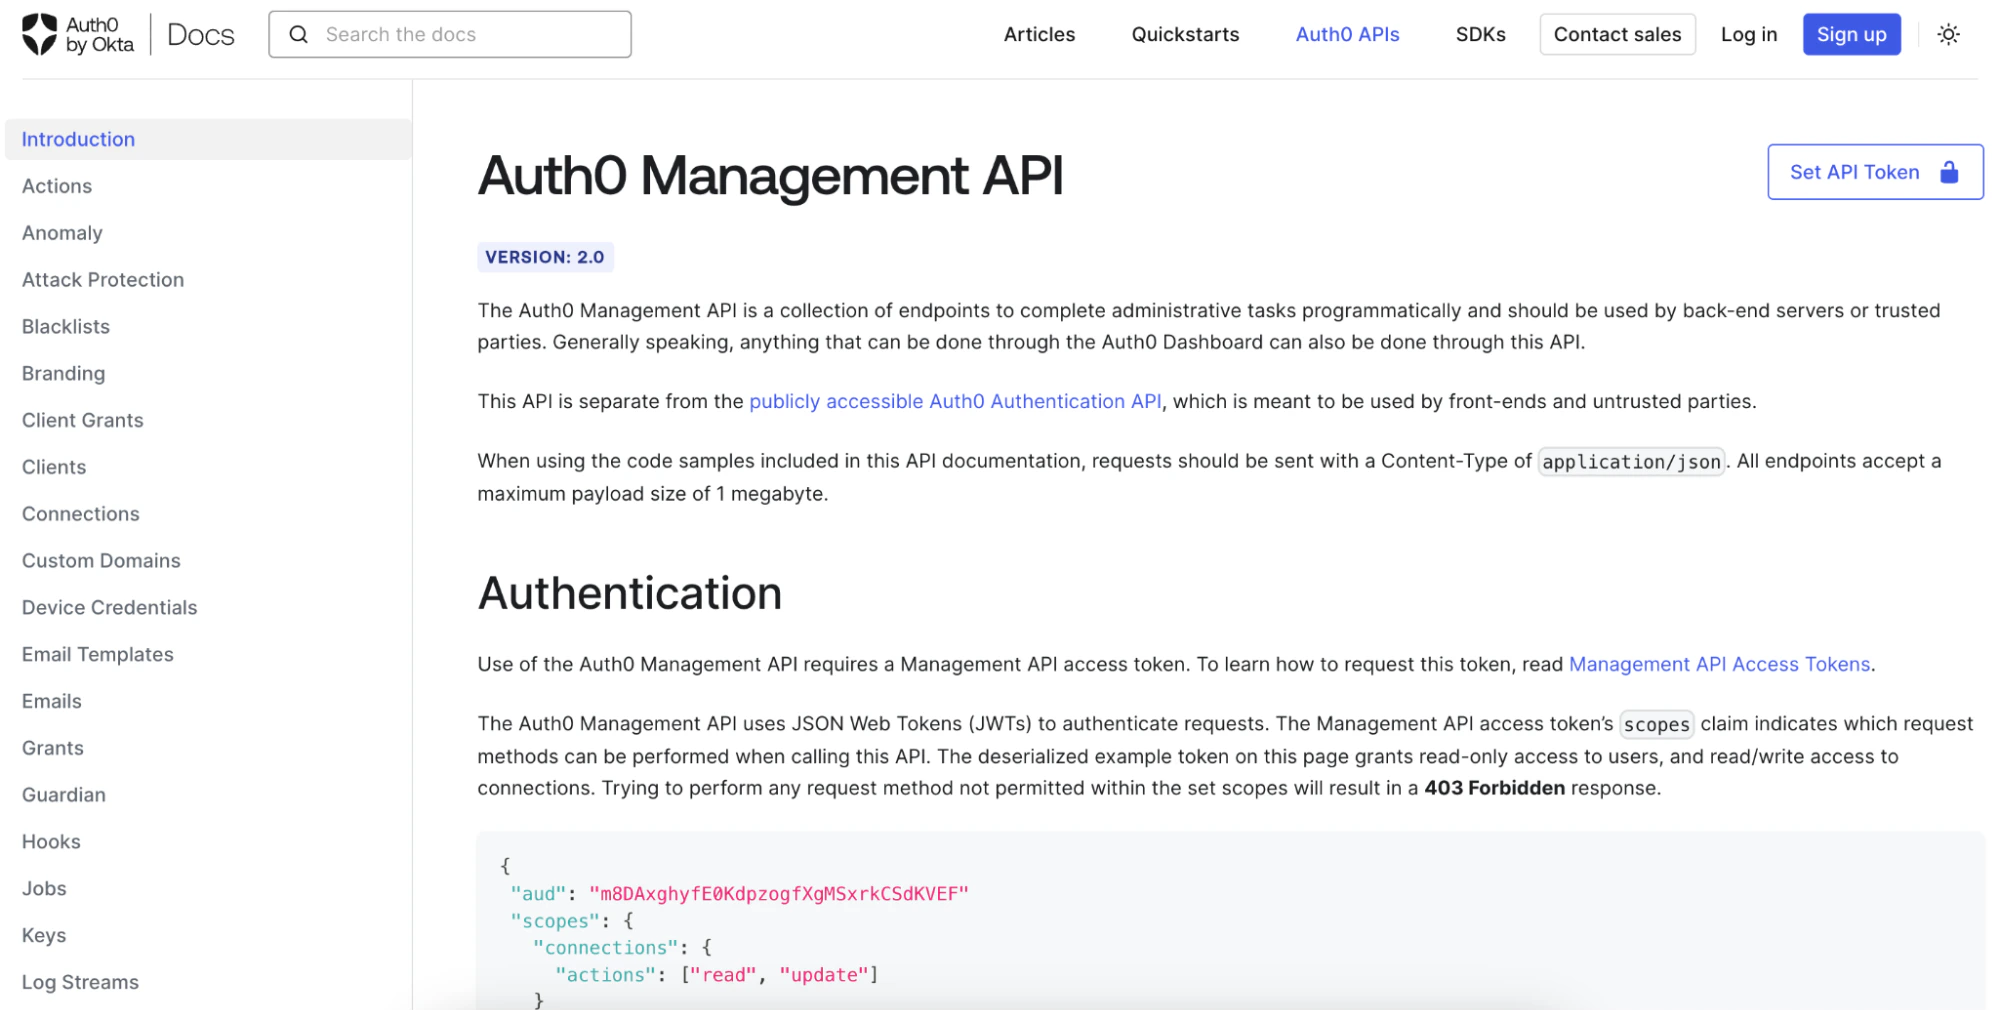 7. トークンを貼り付け、**Set Token** を選択します。
これで、Management API を使用して Auth0 テナントを設定できるようになります。
7. トークンを貼り付け、**Set Token** を選択します。
これで、Management API を使用して Auth0 テナントを設定できるようになります。
### `client_key` フィールドを設定する
1. [Get a connection](https://auth0.com/docs/api/management/v2#!/Connections/get_connections_by_id) メソッドを使用して、`options` オブジェクトの値を取得します。以下はレスポンスオブジェクトのサンプルです。
```json lines theme={null}
{
"options": {
"client_id": "",
"client_secret": "",
"scope": "user.info.basic"
}
}
```
2. `client_key` フィールドを含む `upstream_params` オブジェクトを追加します。
```json lines theme={null}
{
"options": {
"client_id": "",
"client_secret": "",
"scope": "user.info.basic",
"upstream_params": {
"client_key": { "value": "" }
}
}
}
```
3. リクエスト本文に `options` オブジェクトを指定して、[Update a connection](https://auth0.com/docs/api/management/v2#!/Connections/patch_connections_by_id) メソッドを使用します。Auth0 は `client_key=` パラメータを [TikTok の認可エンドポイント](https://developers.tiktok.com/doc/login-kit-web/) に送信します。
## アクセストークンのリクエスト
アクセストークンまたは ID トークン を取得するために、Authentication API の [`/token`](https://developers.tiktok.com/doc/login-kit-manage-user-access-tokens/) エンドポイントへのリクエストにカスタムパラメータを渡すことはできません。リクエストを トークンエンドポイント にプロキシし、お使いの環境内のプロキシエンドポイントを使って `client_key` パラメータをプログラムで追加する必要があります。
### TikTok 連携プロキシをデプロイする
1. [GitHub](https://github.com/tylerkeesling/tiktok-access-token-proxy) リポジトリのサンプルコードを使用し、README の手順に従って依存関係をインストールし、開発サーバーを起動します。
1. サンプルサーバーには `POST` ルート `/proxy/token` が 1 つあります。サーバーは `http://localhost:3333` で実行してください。
2. TikTok Developer の設定で使用するプロキシエンドポイントをコピーします。プロキシエンドポイントは `https://405a-104-129-13b-250.ngrok.io/proxy/token` のようになります。
3. TikTok Developer でソーシャル接続の設定画面に戻ります。`https://example.com` に設定した Token URL を更新し、プロキシ URL を入力します。
設定を保存すると、ユーザーは TikTok でログインできるようになります。